02. Create A Repo From Scratch
Before you can make commits or do anything else with a git repository, the repository needs to actually exist. To create a new repository with Git, we'll use the git init command.
The init subcommand is short for "initialize", which is helpful because it's the command that will do all of the initial setup of a repository. We'll look at what it does in just a second.
Required Commands
Heads up! We'll be using the following terminal commands in this lesson:
ls- used to list files and directoriesmkdir- used to create a new directorycd- used to change directoriesrm- used to remove files and directoriesIf you're not sure how to use them, check out our course Shell Workshop!
We'll also be using the idea of the current working directory, the directory that your shell is "looking at" right now. Using
cdchanges your working directory, and usingls(by itself) lists the files in the working directory. If you lose track of what your shell's working directory is, you can print its name with thepwdcommand (which stands for "print working directory").
Create Course Directories
We're about to create a new project for this course. Since we're all professionals, we want our projects organized. If you already have a location on your computer where you put all your projects, then keep doing what you're doing. I'll be storing all of my work in a directory called udacity-git-course.
If you want to follow along with me:
- create a directory called
udacity-git-course - inside that, create another directory called
new-git-project - use the
cdcommand to move into thenew-git-projectdirectory
If you're a copy/paster like me, just run this command on the terminal - mkdir -p udacity-git-course/new-git-project && cd $_ (Before running this command, make sure you cd to where you want these files stored. For example, if you want the files stored on your Desktop, then make sure you cd to the Desktop before running the command.)
If you're all set, then your terminal should be "inside" the new-git-project directory and look like this:
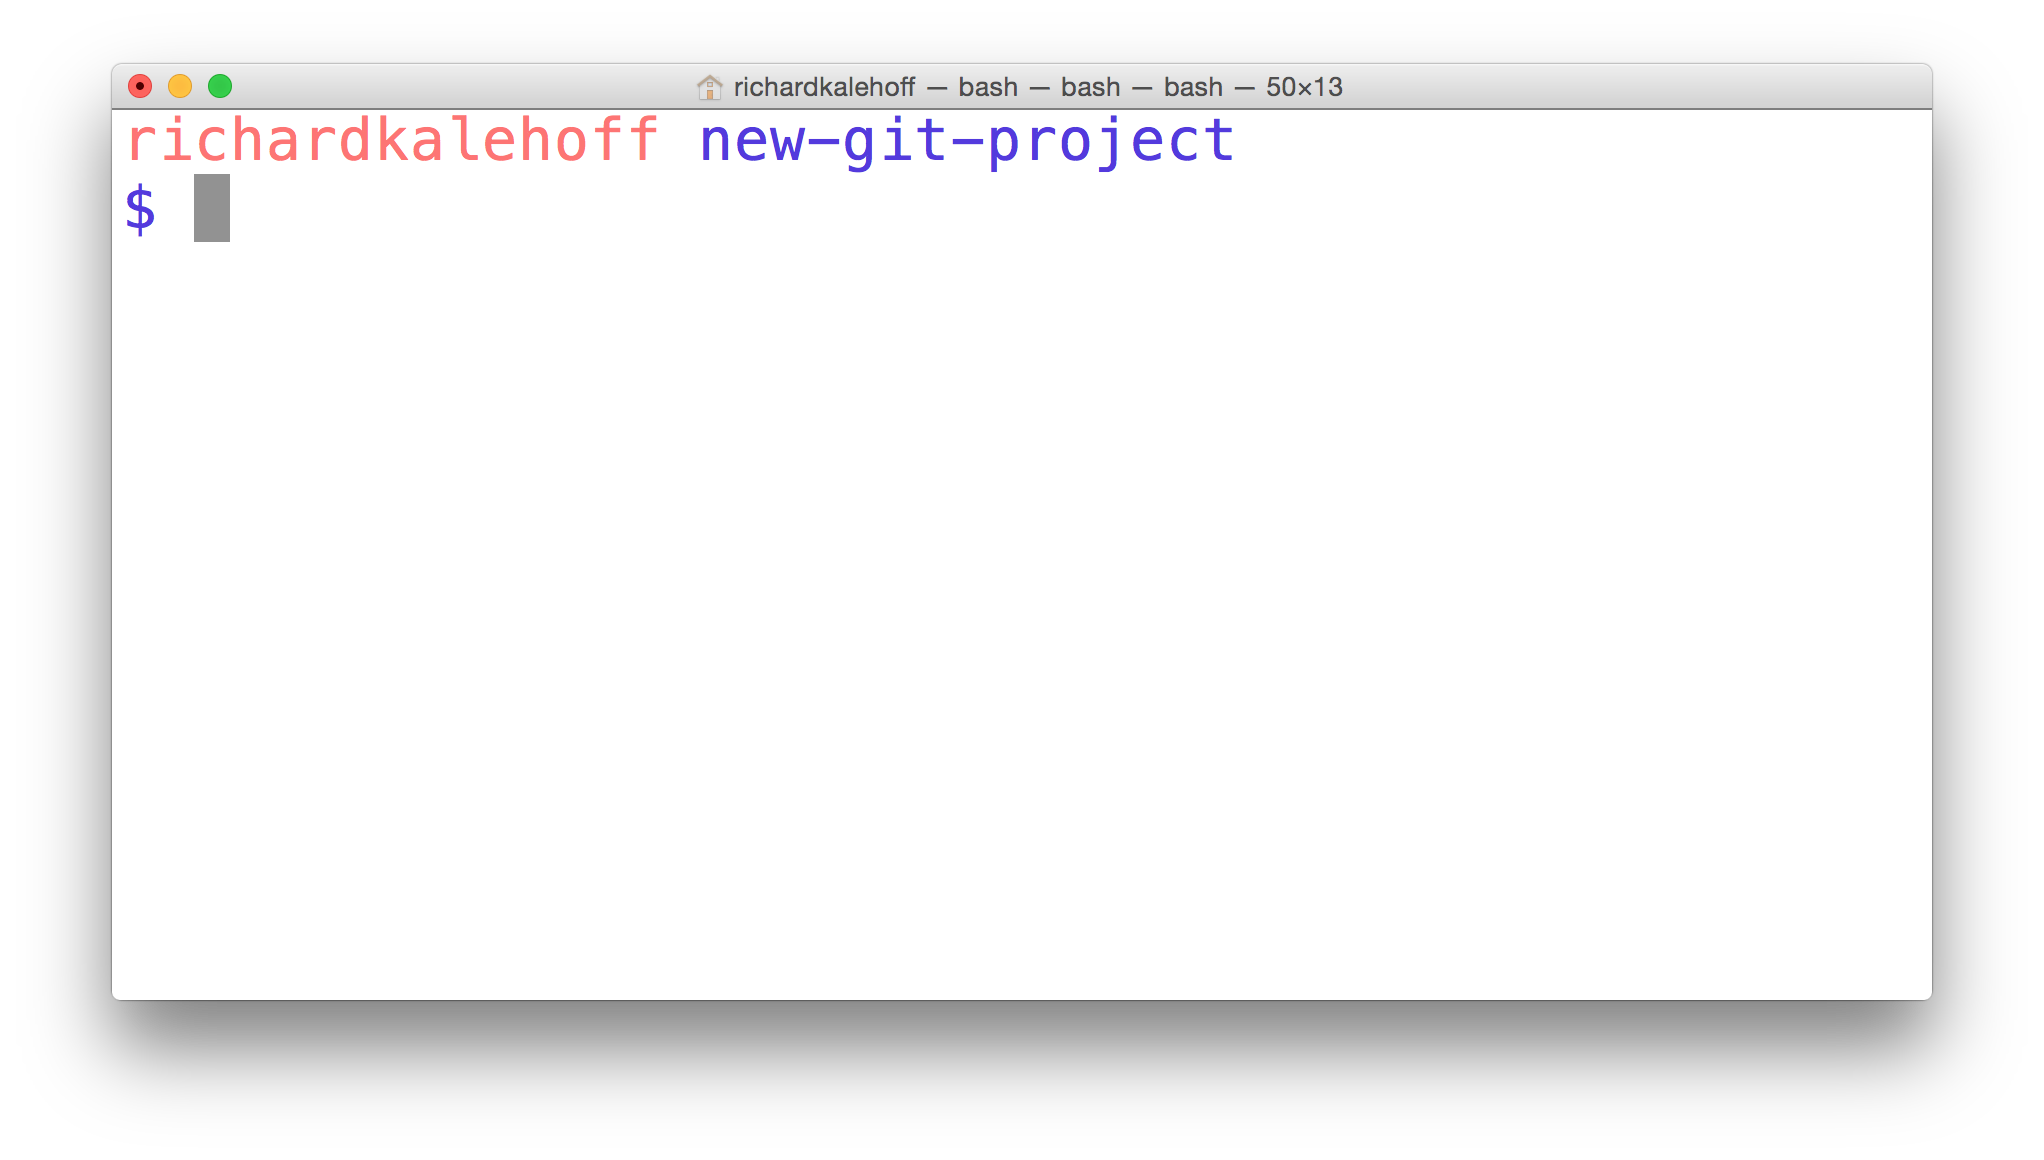
The Terminal application located in the new-git-project directory.
Git Init
Fantastic work - we're all set up and ready to start using the git init command!
This is one of the easiest commands to run. All you have to do is run git init on the terminal. That's it! Go ahead, why not give it a try right now!
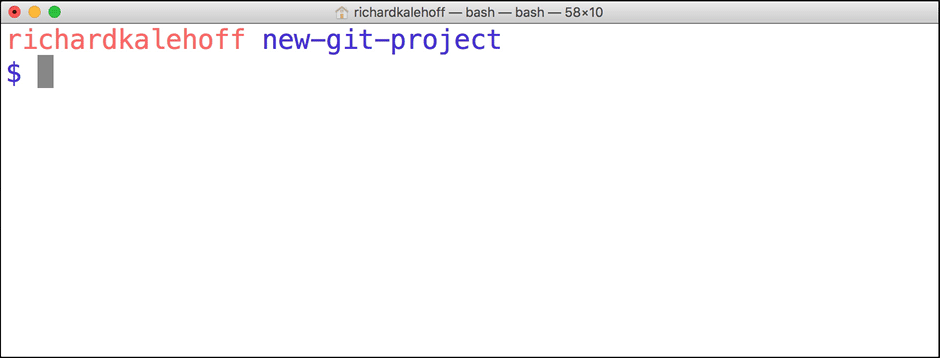
The terminal application showing the git init command being run. The command initializes an empty Git repository in the current directory.
Command Prompt Changes?
SOLUTION:
Yes - I now see the word "master".Git Init's Effect
Running the git init command sets up all of the necessary files and directories that Git will use to keep track of everything. All of these files are stored in a directory called .git (notice the . at the beginning - that means it'll be a hidden directory on Mac/Linux). This .git directory is the "repo"! This is where git records all of the commits and keeps track of everything!
Let's take a brief look at the contents of the .git directory.
WARNING: Don't directly edit any files inside the
.gitdirectory. This is the heart of the repository. If you change file names and/or file content, git will probably lose track of the files that you're keeping in the repo, and you could lose a lot of work! It's okay to look at those files though, but don't edit or delete them.
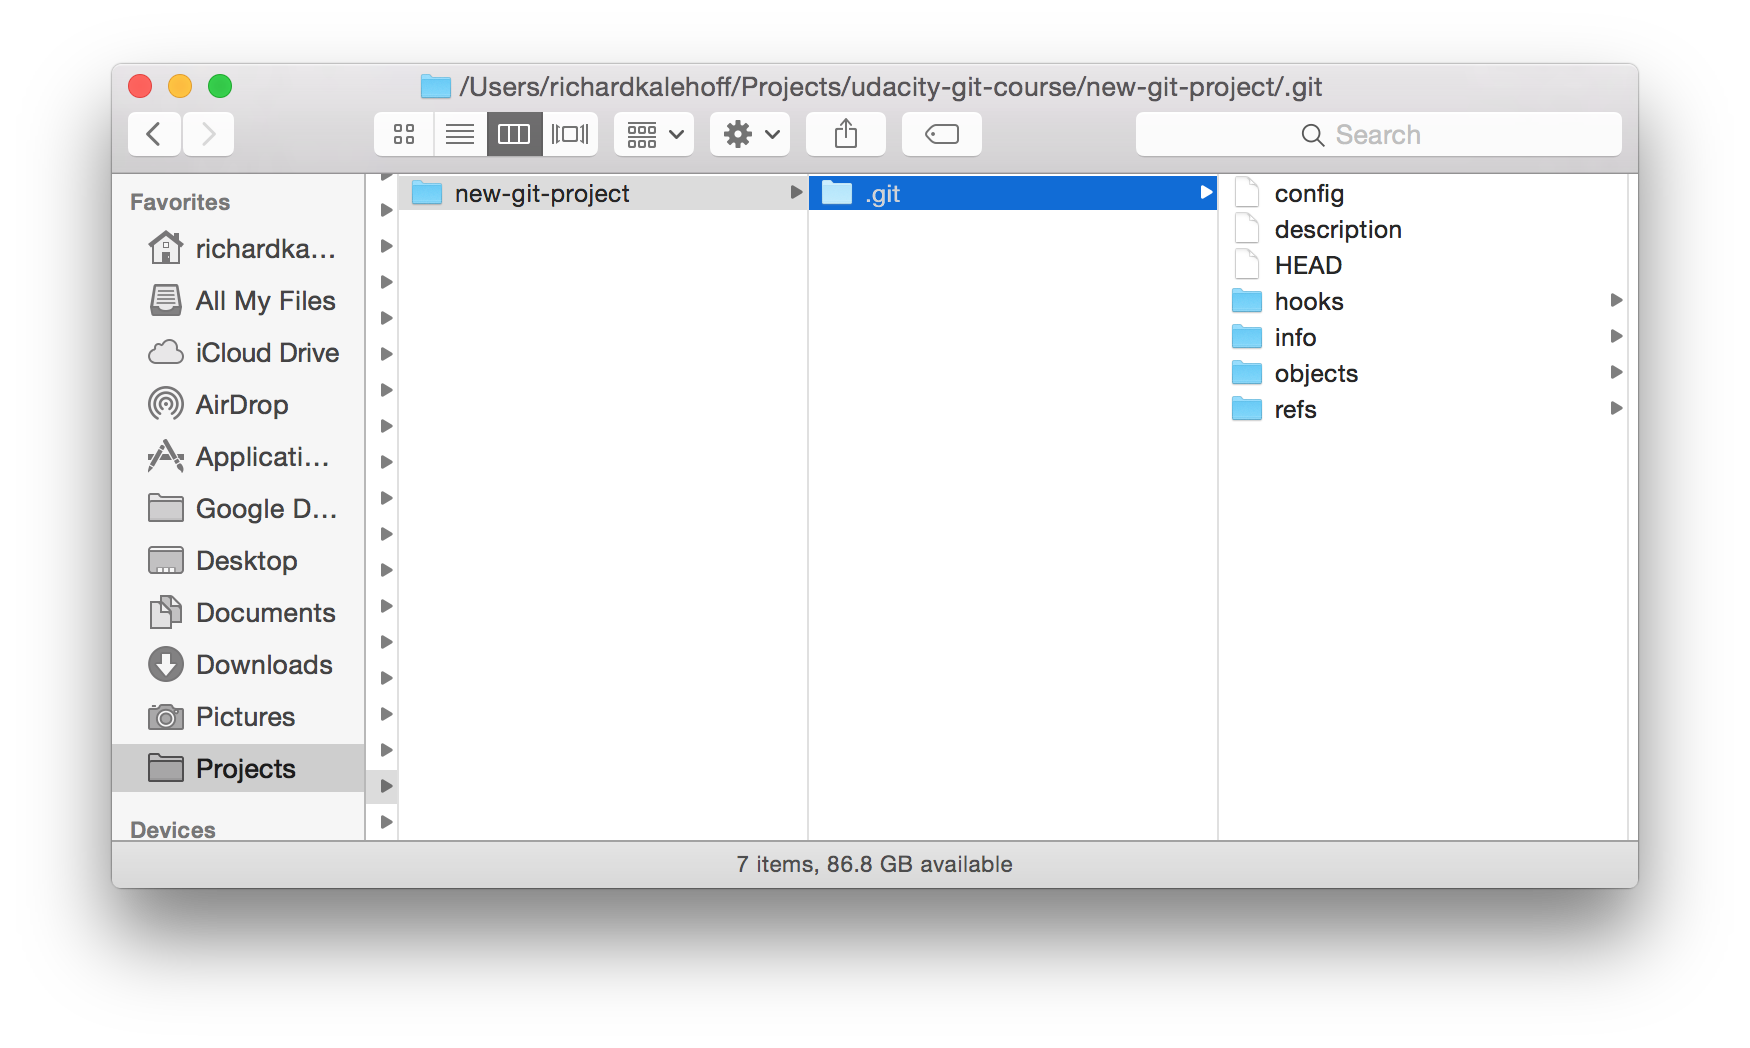
Mac's Finder window showing the contents of the hidden ".git" directory.
.Git Directory Contents
We're about to take a look at the .git directory…it's not vital for this course, though, so don't worry about memorizing anything, it's here if you want to dig a little deeper into how Git works under the hood.
Here's a brief synopsis on each of the items in the .git directory:
- config file - where all project specific configuration settings are stored.
From the Git Book:
Git looks for configuration values in the configuration file in the Git directory (.git/config) of whatever repository you’re currently using. These values are specific to that single repository.
For example, let's say you set that the global configuration for Git uses your personal email address. If you want your work email to be used for a specific project rather than your personal email, that change would be added to this file.
description file - this file is only used by the GitWeb program, so we can ignore it
hooks directory - this is where we could place client-side or server-side scripts that we can use to hook into Git's different lifecycle events
info directory - contains the global excludes file
objects directory - this directory will store all of the commits we make
refs directory - this directory holds pointers to commits (basically the "branches" and "tags")
Remember, other than the "hooks" directory, you shouldn't mess with pretty much any of the content in here. The "hooks" directory can be used to hook into different parts or events of Git's workflow, but that's a more advanced topic that we won't be getting into in this course.
Further Research
- Git Internals - Plumbing and Porcelain (advanced - bookmark this and check it out later)
- Customizing Git - Git Hooks
Git Init Recap
Use the git init command to create a new, empty repository in the current directory.
$ git initRunning this command creates a hidden .git directory. This .git directory is the brain/storage center for the repository. It holds all of the configuration files and directories and is where all of the commits are stored.